
Getting into watercolour painting? Then you've probably already discovered the rabbit hole that is art supply shopping. Endless brands, a dozen paper weights, brushes in every shape imaginable — it's genuinely hard to know what actually matters when you're just starting out (and what's just clever marketing).
The good news: after several years of painting regularly, I've landed on a simple, reliable setup that works for both quick practice sketches and finished pieces. Here's everything I use, why I use it, and what I'd actually recommend if you're putting together your own kit.
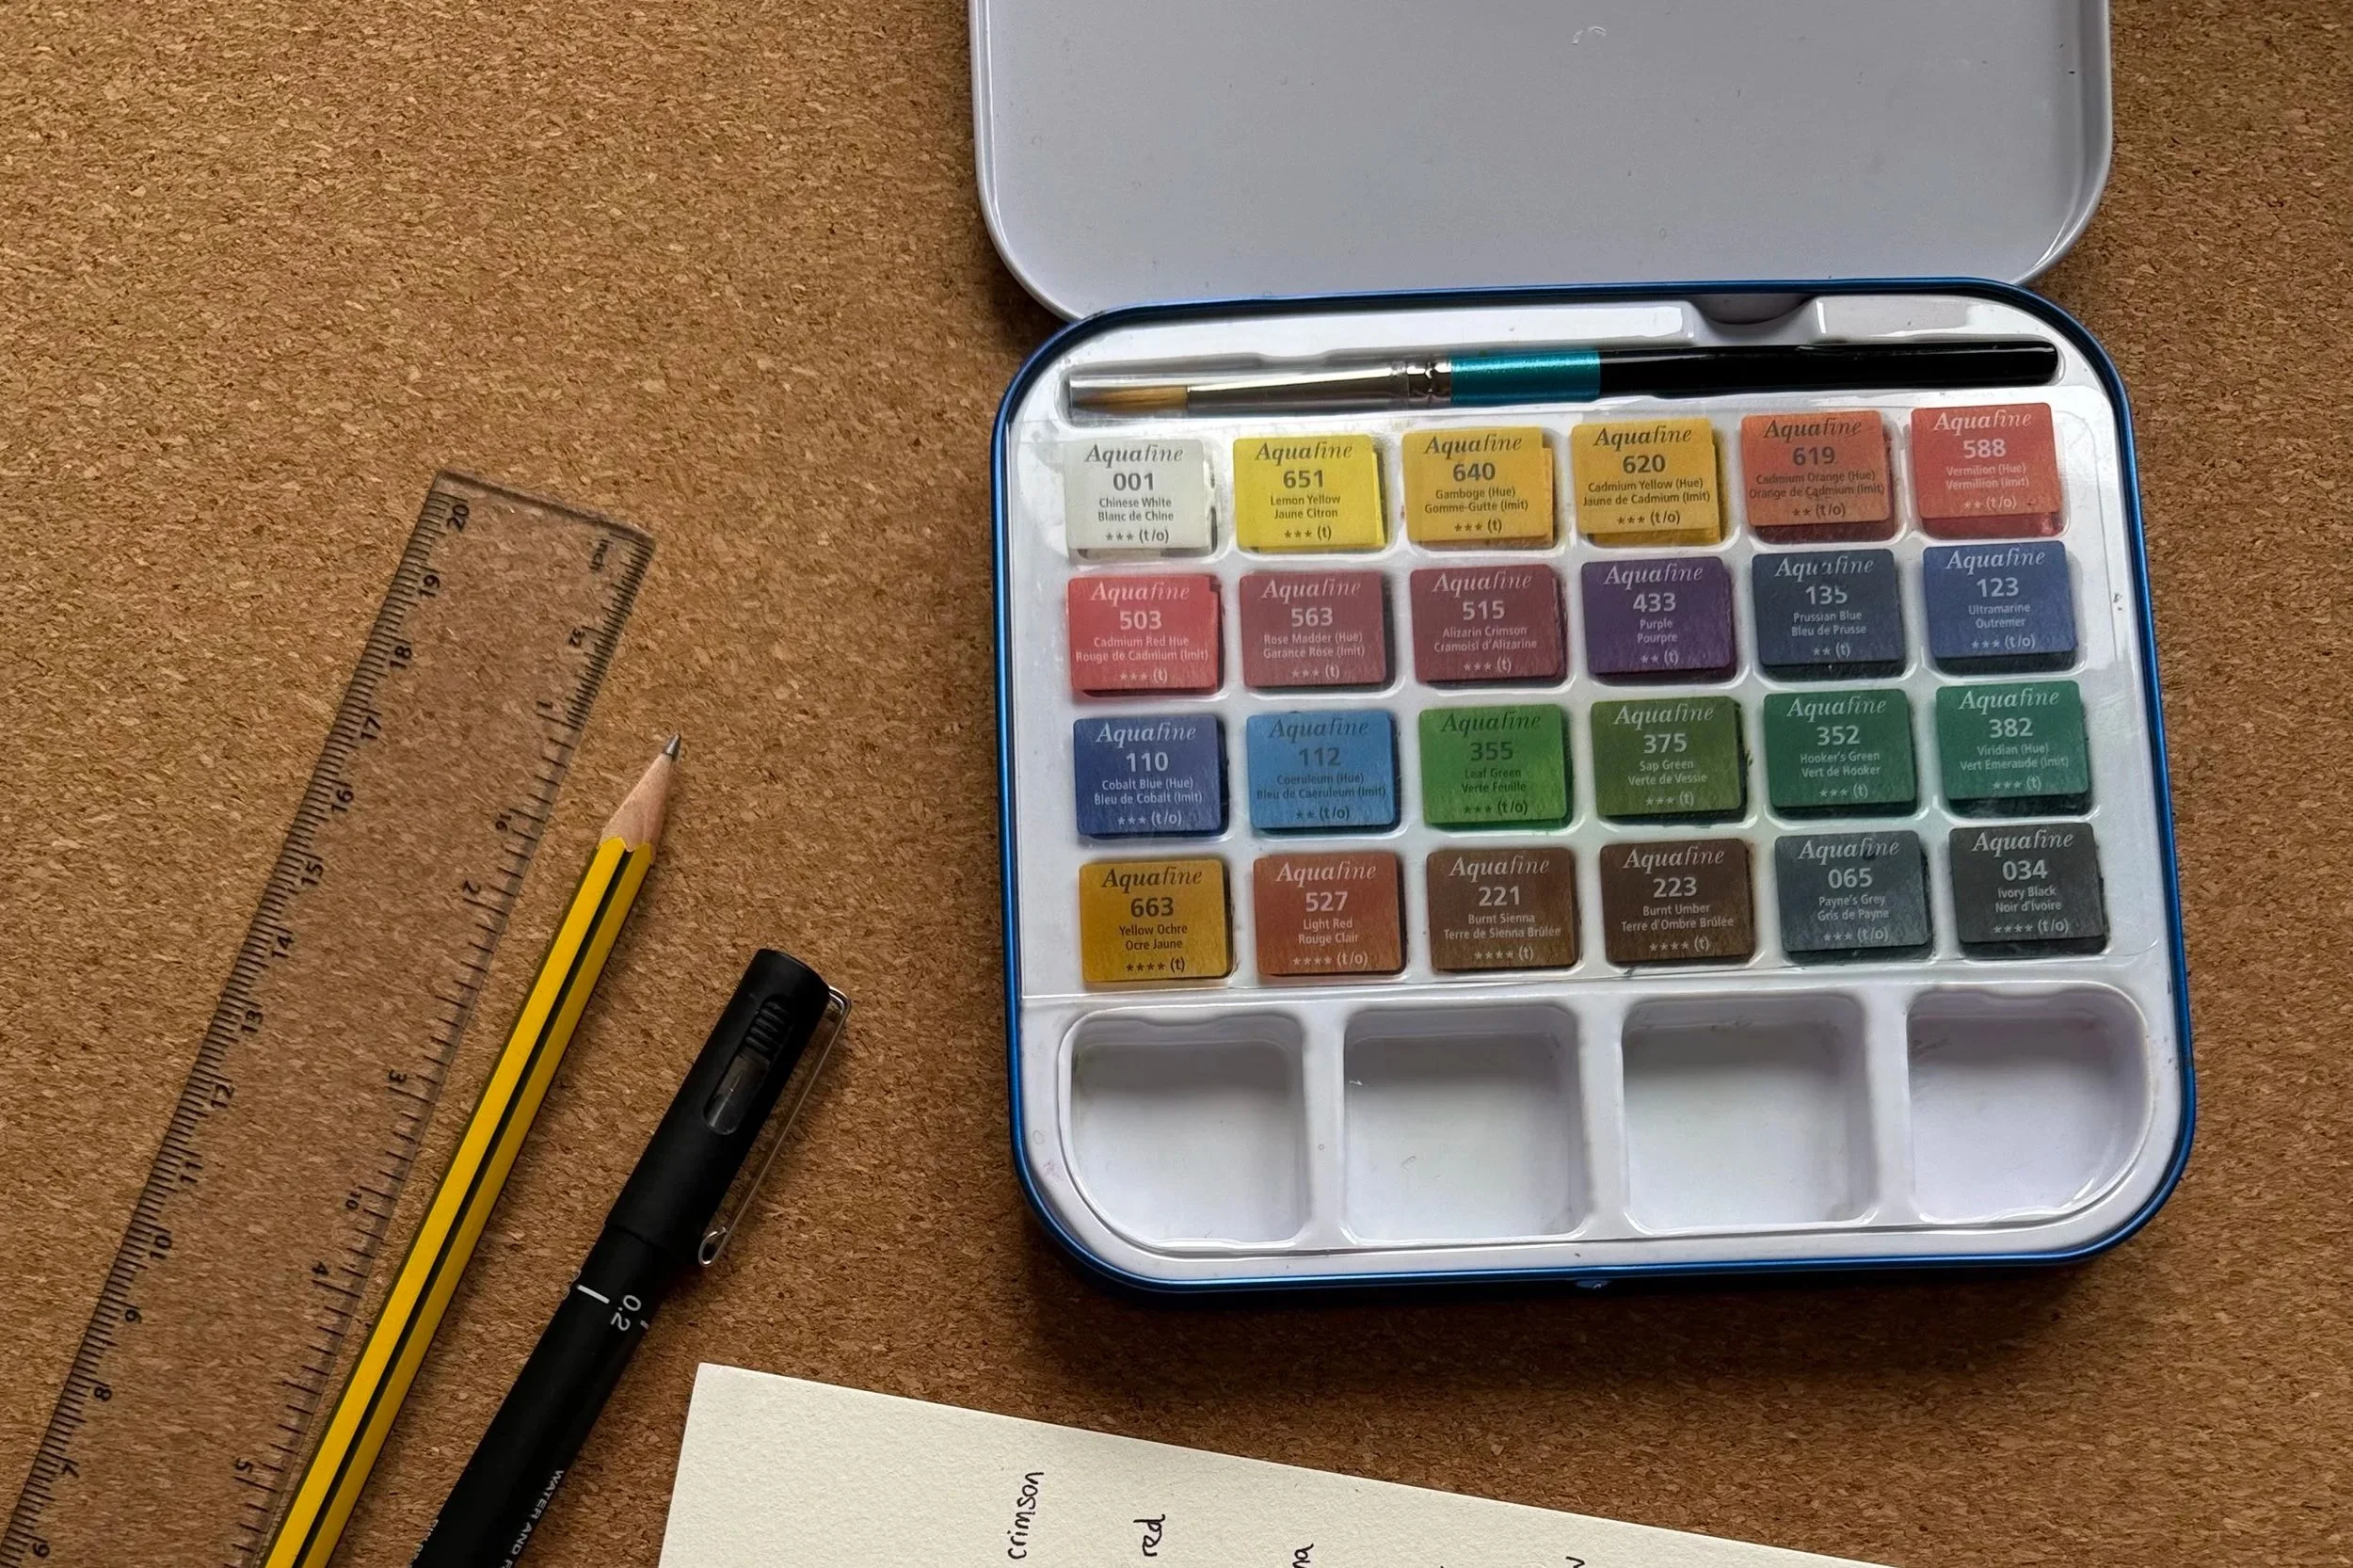
My Go-To Paint Set: Daler Rowney Aquafine 24 Pan Travel Set
I've been painting with the same Daler Rowney Aquafine 24 pan travel set for about five years now — which honestly still surprises me for a compact, student-level set. The colours are just as vibrant as when I started, they rewet beautifully, and the whole set has held up brilliantly to regular use.
The real win here, though, is convenience. Everything lives in one portable case, so it's just as happy coming with me on a train as it is sitting on my kitchen table. And that matters more than people realise — if your paints are always ready to go, you're far more likely to actually sit down and paint. Fewer barriers, more painting.
Why I keep recommending it:
A well-balanced colour selection that suits beginners and intermediate painters alike
Pans that last for years and rewet easily, even after drying out completely
Genuinely portable — no faff getting set up
Reliable pigment quality for everything from loose sketches to finished pieces
If you want a dependable starting point that won't leave you itching to upgrade after a month, this is a strong one to look at.
Let's Talk Paper (It Matters More Than You Think)
Here's something that surprised me early on: paper makes a much bigger difference to your results than most beginners expect. You can have gorgeous paint and still end up with muddy, buckled washes if your paper isn't up to the job.
I've tried a fair few brands over the years, but the one I keep coming back to is Stationery Island. It's affordable, easy to get hold of, and — most importantly — it holds up well through multiple layers without warping into a crinkled mess.
A few things worth knowing when you're choosing paper:
Weight: aim for 300gsm. It handles water so much better and warps far less than lighter papers.
Texture: cold pressed is your best all-rounder and works for most styles, while hot pressed gives you a smoother surface that's great for fine detail.
Layering: good paper should let you glaze and build up washes without the surface breaking down or pilling.
If you're not sure what suits you, grab a few different papers and test them side by side with wet-on-wet washes and some glazing. You'll feel the difference almost immediately, and it'll tell you a lot about which surface actually matches how you like to paint.
Brushes: You Need Fewer Than You Think
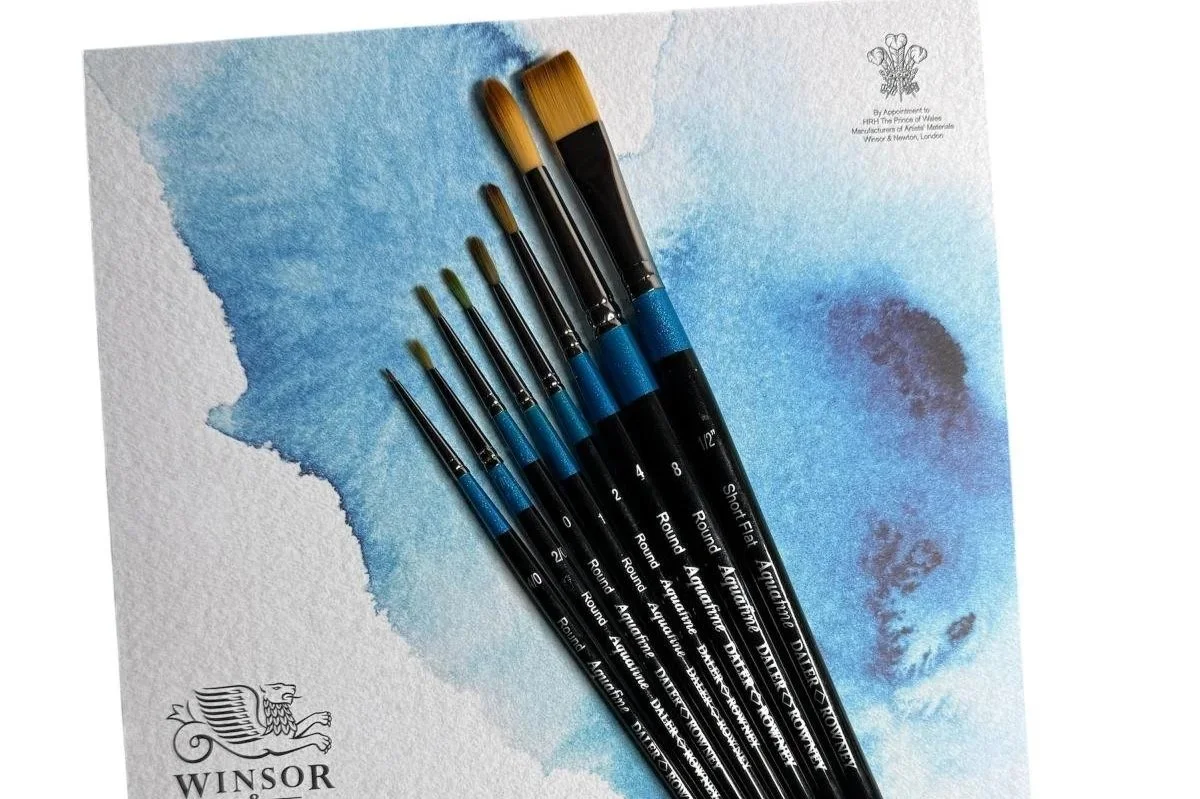
Brushes get overcomplicated fast, but the truth is you don't need a huge or expensive collection to get going. I'm not loyal to one brand — what actually matters is having a good spread of sizes.
My everyday brush lineup:
A small round for fine detail work
A medium round for general painting
A large brush for washes and backgrounds
One or two flats for crisp edges and structure
Round brushes get the most use out of anything in my kit — they're brilliant all-rounders, giving you fine lines or broad strokes depending on how much pressure you use. Flats earn their keep too, especially for skies, geometric shapes, and bold, confident strokes.
Synthetic or natural hair?
Synthetic brushes are budget-friendly, tough, and low-maintenance
Natural hair brushes hold more water and pigment, which helps with smoother blending
Honestly, for most beginners, a decent synthetic set will do everything you need.
The Small Extras That Make a Big Difference
Beyond paint, paper and brushes, a handful of simple extras go a long way toward making your painting sessions smoother:
A mixing palette with enough room to actually blend colours properly
Two water pots — one for clean water, one for rinsing
Masking tape, for securing paper and getting crisp clean edges
A sketchbook just for practice and messing about
Paper towels or a cloth to keep your water levels under control
None of these are exciting purchases, but they make a real difference to how organised and enjoyable your process feels.
Building Your Kit? Here's My Honest Advice
If you're just starting out, it's easy to assume you need expensive materials to get good results. You don't. What actually moves the needle is learning how your materials behave — not owning more of them.
A few things I'd genuinely tell a beginner:
Start with a small, well-chosen paint set rather than buying tubes individually
Spend your money on decent paper before you upgrade your brushes
Get comfortable with layering and water control before chasing advanced techniques
Keep your setup simple enough that you'll actually want to sit down and paint
Experiment often — it's the fastest way to figure out what really works for you
Consistency will take you further than professional-grade gear ever will.
Final Thoughts
After years of painting, the biggest lesson I've learned is that good materials don't need to be complicated or expensive. A reliable set like the Daler Rowney Aquafine 24 pan, decent paper like Stationery Island, and a small, versatile brush collection is genuinely all you need to build strong watercolour skills.
The real secret isn't in the kit — it's in painting often, experimenting freely, and paying attention to how each material behaves in your hands.
So if you're building your own watercolour kit: start simple, stay consistent, and let your tools grow alongside your practice.
