
From Sketch to Painting: How I Create a Bespoke House Portrait
There’s something incredibly special about turning a home into a piece of art. Whether it’s a first home, a family house full of memories, or a thoughtful gift, a bespoke house portrait becomes more than just a painting. It becomes a lasting keepsake.
In this post, I’m sharing a behind-the-scenes look at my house portrait commission process, from the very first pencil sketch through to the finished watercolour painting.
If you’re considering commissioning a piece, this will give you a clear idea of what to expect.

1. Pencil Sketch: Planning Your House Portrait
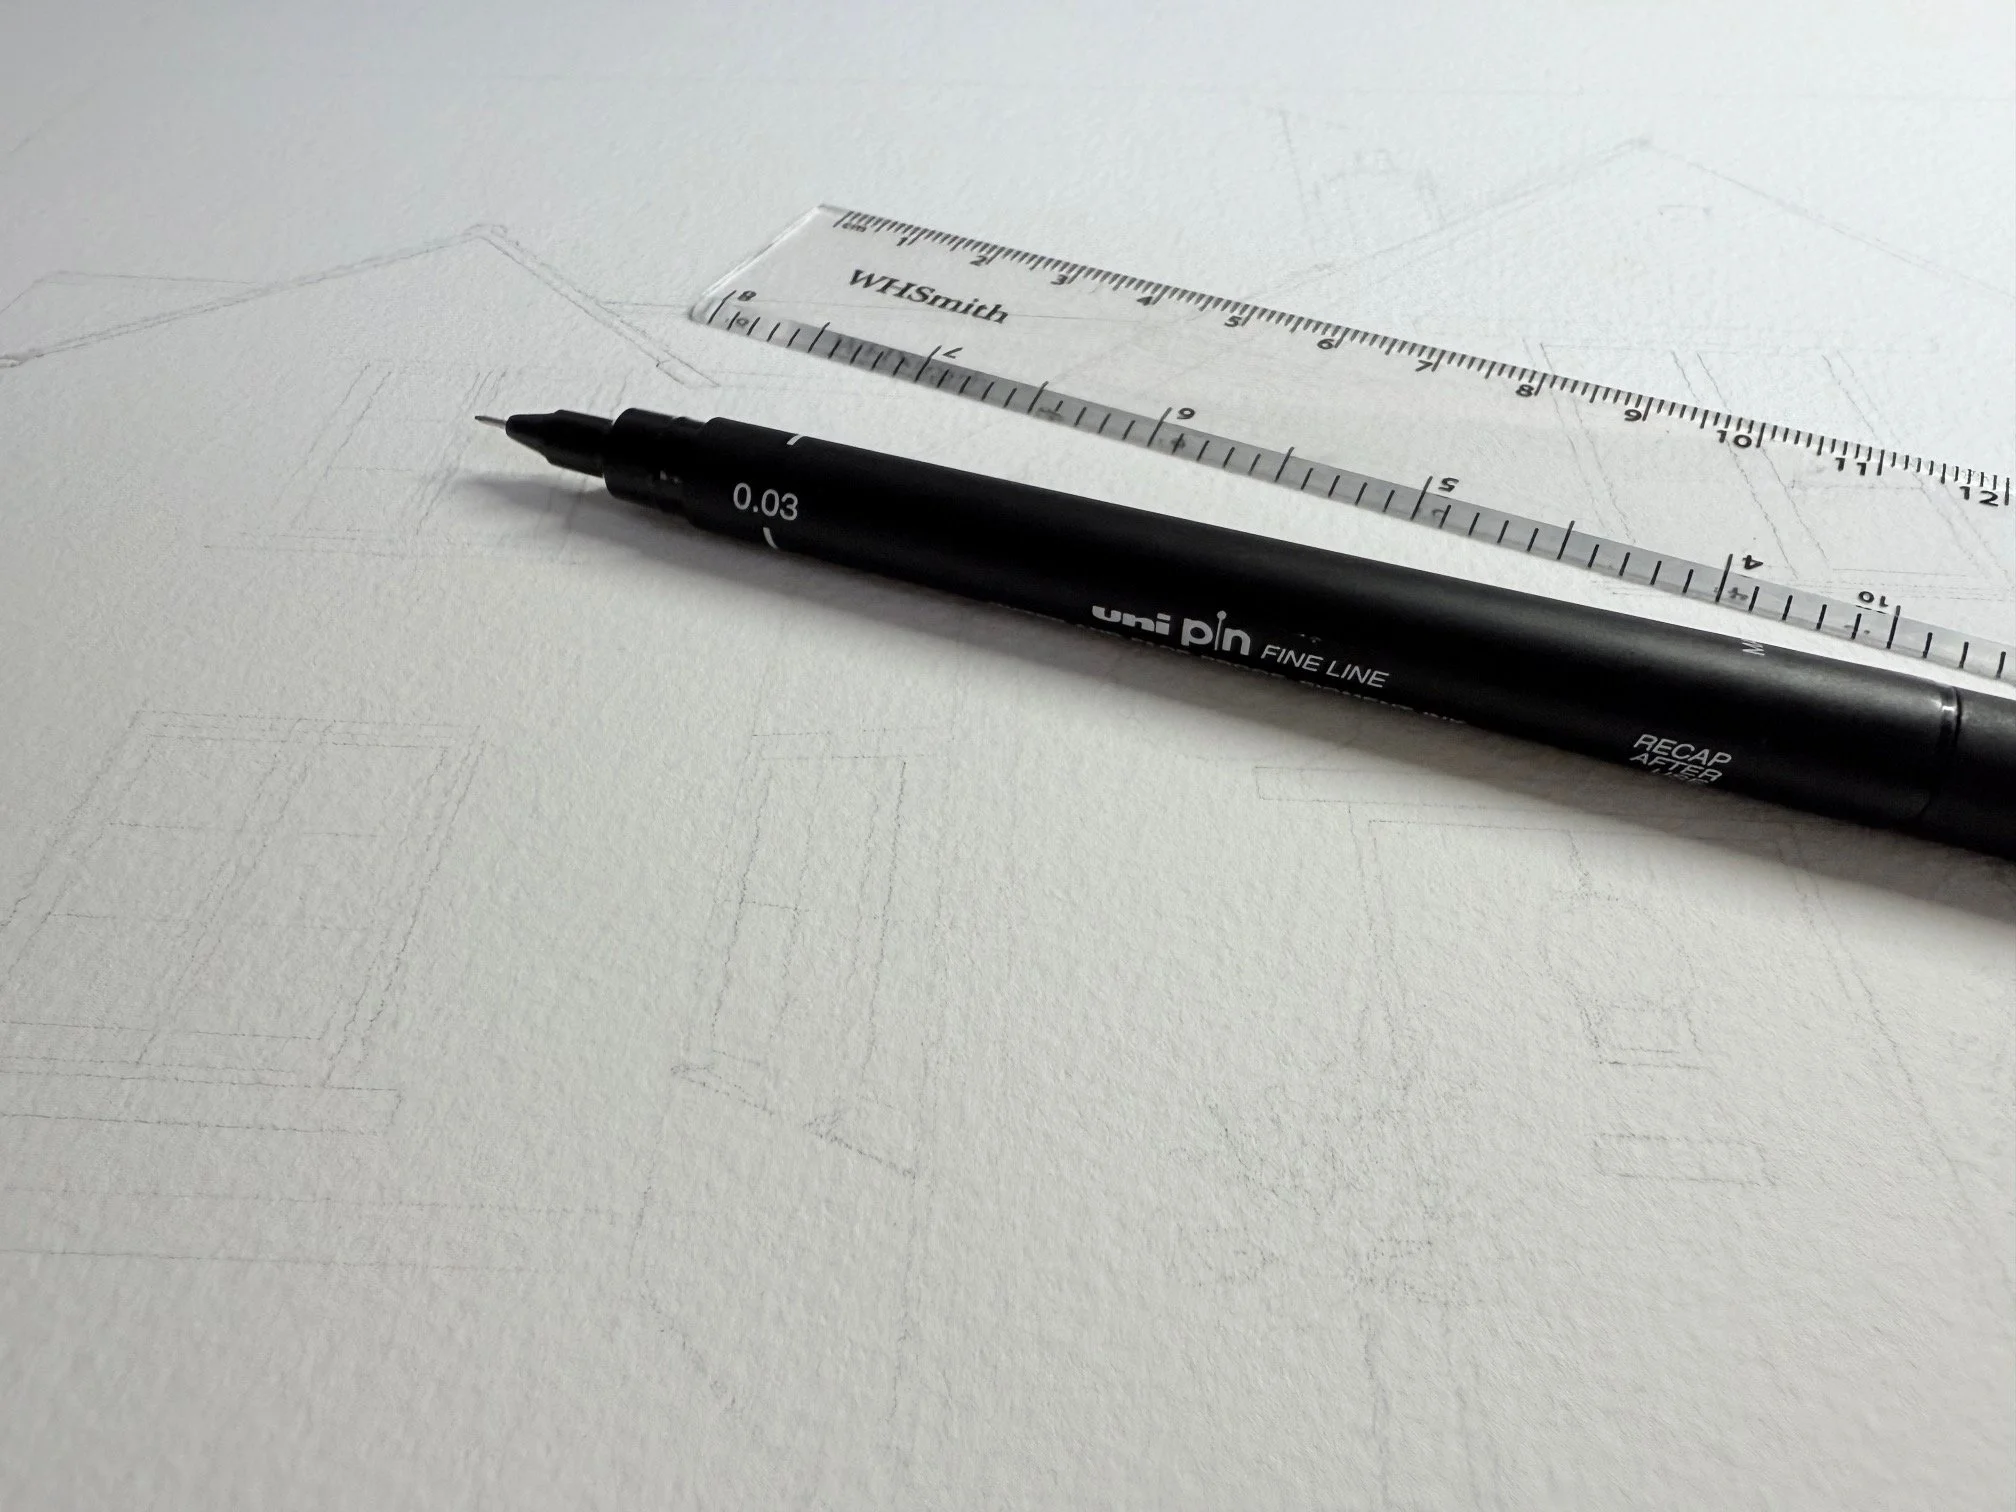
Every house portrait commission begins with a light pencil sketch.
At this stage, I focus on proportions, structure and placement, mapping out the key features of the house without committing too heavily. Keeping the lines soft means I can easily adjust anything before moving on.
If the building is simple, I sketch freehand. For more complex homes, I sometimes trace the basic outlines to ensure everything is accurately positioned before refining it by eye. This is a completely normal part of creating detailed architectural artwork and helps achieve a polished final result.
I also use a ruler to keep architectural lines clean and consistent.
I work from client photos, so I always ask for a high-quality reference image. If there are additional elements you would like included in your custom house portrait, I may ask for extra photos to ensure everything is captured accurately.
2. Pen or No Pen: Defining the Style of Your House Illustration
For a long time, I always outlined my sketches in pen before painting. This creates a more defined, illustrative style.
Now, I choose whether to use pen depending on the look I want for each bespoke house portrait.
With pen: ideal for detailed buildings where architectural features need to stand out
Without pen: creates a softer, more fluid watercolour finish
When I do use pen, I use Uni Pin waterproof fineliners so the ink does not smudge when painted over. My most-used sizes are 0.03, 0.05 and 0.1 for fine detail work.
For a softer effect, I sometimes use grey fineliners instead of black (yes, they exist in different shades!), which gives structure without harsh outlines.
👉 [Internal link suggestion: Link to a future or existing post about “watercolour tools and materials”]
[Insert comparison image: house portrait with pen vs without pen]
3. Painting the Base Layers in Watercolour
Once the sketch is complete, I begin painting using light, diluted washes.
I always start with lighter tones and work from the background forwards. This is a key part of my watercolour house portrait process, as it helps build depth gradually while keeping the painting soft and balanced.
At this stage, I focus on:
Blocking in main shapes
Establishing colour palette
Creating a base for layering
I work in layers, allowing each wash to dry before adding the next. This keeps colours clean and avoids muddiness.
4. Adding Texture: Brickwork and Architectural Details
This is where the house portrait really starts to come to life.
Rather than painting every individual brick, I suggest texture through loose marks, layering and subtle tonal variation. This creates a more natural and painterly finish.
Techniques I often use include:
Layering different tones of the same colour
Using a slightly drier brush for texture
Adding irregular marks to avoid uniformity
The aim is to capture the character of the building rather than perfect replication.

5. Detailing: Bringing Your Home to Life
Adding details is one of the most enjoyable parts of creating a custom house portrait.
This is where I include elements that make the piece personal, such as:
Reflections in windows
Plants and flowers
Architectural features
Decorative touches
Many clients request specific changes to make their portrait unique. For example:
Adding pets outside the home
Changing the season or lighting
Removing cars or unwanted objects
Including features from multiple reference photos
In this particular portrait, the client asked me to lighten the tone of the brickwork and to include hanging baskets of flowers, which they provided a separate reference image for.

6. Your Finished House Portrait
Once all layers and details are complete, the painting is ready!
Commission Your Own House Portrait
If you would like a bespoke piece created for you or as a gift, I take on a limited number of house portrait commissions.
Each house portrait is created with the client in mind, from the colour palette to the final size and how it will sit within its frame. My aim is always to create a piece that feels completely at home in its new setting.
I offer a range of sizes, with A5 (£55) and A4 (£95) being the most popular. However, I can create pieces at almost any size, and pricing is adjusted proportionately.
Turnaround time varies depending on the time of year (pre-Christmas, for example, being a busier period!). If you are working to a specific date, I always recommend getting in touch as early as possible. That said, I have turned around smaller commissions in a very short timeframe when needed!
If you would like to enquire about a commission, feel free to get in touch and I will be happy to talk through options with you.
Find out more about commissions I offer here.

Want to Learn How to Paint Like This?
If you have enjoyed seeing this process and feel inspired to try it yourself, I run small, relaxed watercolour workshops where I guide you step by step. The next one is themed around painting homes and gardens!
Homes and Gardens Watercolour Workshop
Saturday 11 July, 2-4pm
The Waverley, Chippenham
This workshop is perfect for beginners, or for anyone wanting to build confidence with painting places in watercolour.
You can find full details and book your place here.